WHAT'S NEW?
Loading...
Showing posts with label ANDROID TRICK. Show all posts

20160701165935

The Application will try to connect to WPS enabled Wifi Routers that have the WPS vulnerability

using some algorithms to connect to the Wifi. This App is for Testing and Educational purpose only , I’m not responsible for any bad usage
****ROOT is NOT totally required****
**** Location Permission is required for Wifi Network Scanning By Android*****
The application has two methods to connect

  • Root Method : Supported all android version but should be rooted.
  • No Root Method : supports only Android 5 (Lollipop) and up.
For Android 5 (Lollipop) and up
  • If you are not rooted you can use the application to connect, but you cannot show password unless you are rooted.
  • If you are rooted will be alerted to choose either Root Method or No Root Method. you can show the password using both methods

For Android 4.4 and earlier
  • You have to be ROOTED for both connecting and showing password
  • If Your are not Rooted , then you cannot use the application
How to Install?
  1. Download apk from below link
  2. Install apk file on your device and go ad free
  3. Done, Enjoy ðŸ™‚ !

Downloads –

Now and then your phone’s microSD card stops working correctly and has to be formatted. Just like a smartphone that needs a factory reset to try and get rid of weird behavior, an SD card needs a fresh start by formatting it. If you are thinking of selling your Android device and don’t want your information to go with it, formatting the SD card will also come in handy.

Warning: by formatting your SD card, you will lose everything you have saved on it, including pictures, music, and other files. Make sure you have backed up all of your files.
There are plenty of ways to format an SD card on a PC. This article will show you how to format your SD card on an Android device.
Note: This article is applicable only for an Android device with an SD card slot.
1. (Skip this step if your SD card is already in the phone) Insert the MicroSD card into your phone.
Formatting_SD_Mount_Card
To insert the card into your Android phone, you will first need to remove the back panel and remove the battery. If you are formatting the SD card on an Android tablet, then you will find the SD card reader on the side of yourtablet. You will obviously only need to do this if you are formatting an SD card that is not the one that is already on your phone and if your phone or tablet came with an SD card slot.
2. Once you have inserted the SD card, go to “Menu -> Setting -> Storage” to access the Storage settings.
Formatting_SD_Storage
3. Here you will see the “Format Card” option and the “UnMount SD Card” option. To get started, just tap on the first choice, but if it is greyed out, you need to tap “Unmount SD card” first.
Formatting_SD_Storage_Menu1
4. When you press Format SD Card, you will be advised twice that all of your data will be erased. Just tap on “Format SD Card” and “Erase all” to finish. Remember that after the SD card has been formatted, you need to touch “Mount SD card” to get your phone to recognize and use the SD card.
Formatting_SD_Erase_All
You are done. Once you have completed these steps you will have a recently formatted SD card, so you can start over. The SD card will be formatted to FAT32 filesystem type.
Yes, it can. You just need to insert it like you always have and turn off your phone. Turn it back and follow the formatting steps listed above. When you are done, you shouldn’t see the damaged SD card message, and you should be able to see how much memory it has.
Android_SD_Formatting_Damaged
There are quite a few things you can do to avoid getting an error or damaged SD card message. For example, you should never remove the SD card when you are viewing or saving pictures and turning on/off your device, and never change the memory card when your device is on.
Looking at your pictures or taking pictures when your phone’s battery is low is something you want to avoid. If you notice that you are always dealing with damaged SD cards, there is a good chance that your device is damaging your memory cards, and you might want to take it into service to get the problem fixed.
Android_SD_Formatting_Marshmallow

If you are one of the lucky users that are already enjoying Android 6.0, there is something you should know when formatting your SD card. When you insert an SD card with this Android version, you will be asked if you want to treat it as an internal storage or portable storage.
If you choose portable storage, then the SD card will be treated just like a removable storage. If you choose internal storage, the SD card will be formatted and encrypted. Before selecting “Internal Storage,” think carefully because once that option is selected, your SD will be treated as such and won’t be read by your PC. If one day you choose to take it out, slide it into an adapter and onto your computer. The SD card, from now on, will be your phone’s main storage space.
With this method your SD card will have the fresh start it has been asking for, and hopefully any problems you have been having with the SD card will disappear. If you found this information useful, don’t forget to give it a share, and feel free to drop any comments or questions in the comments.

Hello Moneyarea4all Users,Today I Am Telling You That How To Bypass Android Fingerprint Security Easily. So Lets Go To Know About It, Nowaday The Most Of The New SmartPhones Are Being Launched By The Manufacturers Come Along With Some Interesting Features that Also Include Some great Hardware Features Too. Fingerprint Screen Security is One Of Them.

Top Ways To Bypass Fingerprint Screen Security

Using Victims Fingerprint

This Might Sound Very Awkward as you Can't Even Thought Of That The Victim will Give You To Access His Device By Using his Own Fingerprints But the Real Things is That You Will Not has To Get Up the Real Finger Of the Victim To Hack his Device.But U Will Need Only a Clear Photo Of His Thumb or Finger Itself. This is What U Can Really do Somehow,and After That U Will Has To Get That Pic Of The FingerPrint To MakeUp The Fake Finger With Victim's Fingerprint. This is Possible As u Can Make This Up Just Using The Fingerprints From The Picture That U Has To Click. This Is Could Not Be The Easy Task But With This U Has 100% Chances To Hack Someone's Fingerprint Seurity. And This Trick Also Tested By Me.


Flash Recovery

You Can Also Bypass Fingerprint Security On The Android Devices Through Flashing this File On The Device. To Flash Of The file First Of All Connect The Device To The Computer And Then Reboot The Device. After That Download The File To The Computer And Suing Up The Flash Software. Just Flash This File On The Android Device. This Will Remove The Fingerprint Lock. And Then Enjoy....


Factory Reset

This Is The Method Which Will U Lost All of Your Data Of Your Mobile But U Can Also Remove The Fingerprint Lock From The Device Too. Just Reboot Your Device On Recovery Mood And Using Up The Volume Buttons reach The Reset Option From The Menu That Shows Up. Now Press The Lock screen Button Of the Device and Select That Option. and after That Your Device Will Start The Format Process. After The Completing Format Process U will Bypass Fingerprint Lock. This Is The Most Easy Process.


This Post Only For Education Purpose Only. I am Not Responsible To any Wrong.

spoof mac address on android
A Media Access Control address (MAC address) is a 12-character unique identifier assigned to a specific piece of hardware such as the network adapter of your WiFi device. In simple words, a MAC address can be used to uniquely identify your Android phone on the Internet or the local network.
Spoofing MAC Address on Android Devices
Even though MAC address is embedded on the hardware device during manufacture, it can still be spoofed to input a new one of your choice. Here is a detailed instruction on how to spoofMAC address on your Android phone.
Before you spoof the MAC address, you need to record the original/current MAC address of your device which can be done according to the instruction below:
On the Home Screen of your phone, tap Menu button and go to Settings.
Tap About Device and go to Status
Now scroll down to record the 12-digit code shown under Wi-Fi Mac address. An address would read something like:
Example MAC address: E5:12:D8:E5:69:97
Requirements for Spoofing the MAC Address
Rooted Android Phone
BusyBox app installed on your phone
Once BusyBox is installed, you need to install Terminal app
Once the above requirements are satisfied, follow the instructions below to spoof your MAC address:
Open the Terminal app and type the commands as listed below:
$ su [HIT ENTER]
$ busybox iplink show eth0 [HIT ENTER]
(This will show your current MAC address, just for your confirmation)
Now, type the following command:
$ busybox ifconfig eth0 hw ether XX:XX:XX:XX:XX:XX [HIT ENTER]
(In the above command, replace XX:XX:XX:XX:XX:XX with your new MAC address)
You have now spoofed your MAC address successfully. To check for the change enter the following command again:
$ busybox iplink show eth0 [HIT ENTER]
(Now you should see your new MAC address)
I hope you like this post. For feedback and queries, pass your comments
Here we discussing the best android hacking tricks to hack into device with Windows PC with hacking tools 2016 to hack device. See the complete guide explained in the post.

How To Hack Android From Windows PC

Android mobiles are most popular mobile phone now a days. his because they are easy to use, customizable, affordable in price and many such reasons. but there is also a bad factor that is bugs and lack of security in android. It is also true that we can’t have both security and customization at there best in one device. we can increase one on the cost of another.
The android is operating system designed by google. it is freely available to use by all the mobile phone companies all over the world. the androids mobile devices generally ranged between 4000rs or $60 to 70,000 rs or $1000. so it is used by most of the world and is most likely to be used by our victim. so in this post we will discuss how to hack android using windows pc with help of victims mobile number.

Requirements:-

  • victim’s phone number.
  • The victim and the hacker need to remain connected to the internet during the entire process of hack.
  • product must be installed and activated (can also search key on the internet)
Click here to Download from www.Mirrorcreator.com

Steps by step:-

  • install and run the android sniffing tool
  • enter victims mobile number in mobile number block.
  • verify to search for country or you can enter country code with mobile phone.
  • click on hack to hack into mobile phone.
  • select reports to hack messages, calls, and files.
  • select the .rar or .zip format on the right side to select the format of file in which you want to store reports.
  • click generate to generate .zip or .rar file of selected reports.
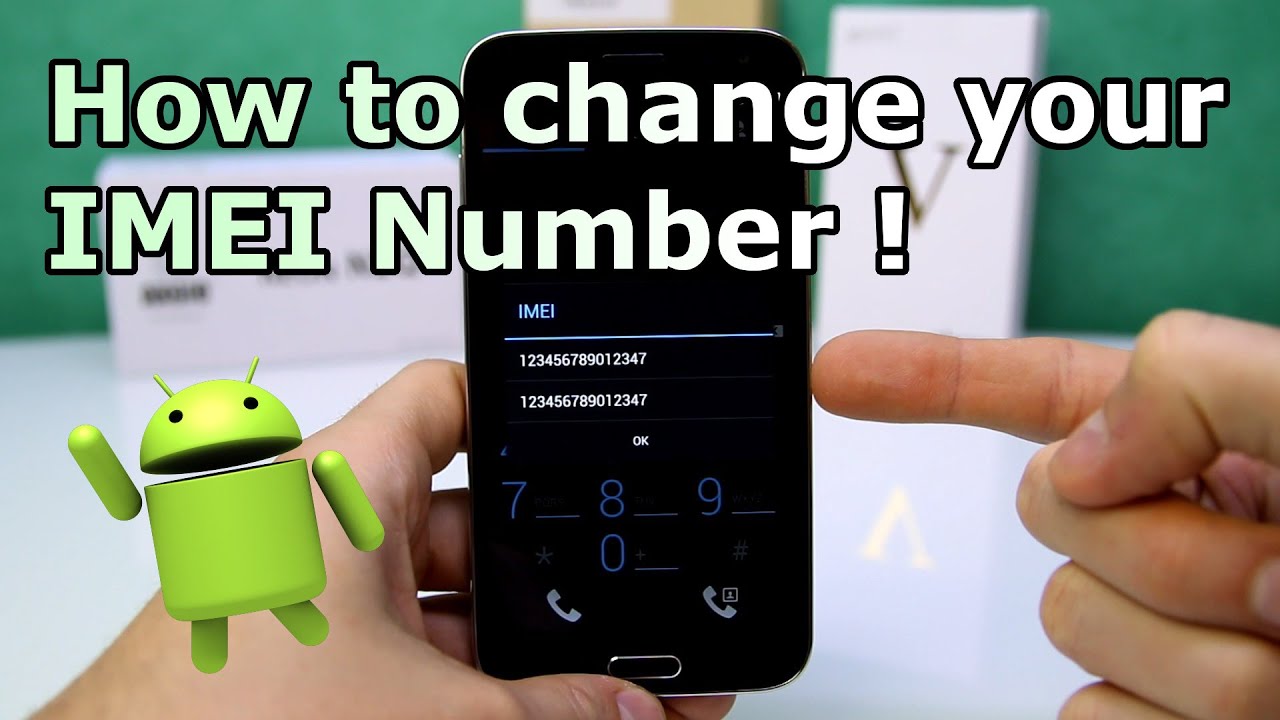
IMEI is a short abbreviation of “International Mobile Equipment Identity”. Each and every Smartphone has different IMEI number.

                                         Change Android Imei Without Rooting 2016
Note – Changing your IMEI number is illegal in many countries. So, try at your own risk. I would request you all to take this tutorial for your knowledge only.

How to Change IMEI Number of Android Phone WITHOUT ROOT (MTK Chipset)

  • Download Mobile Uncle App from play store on your android device - Download Mobile Uncle
  • Now, Open the app.
  • Now, select Engineer Mode > Engineer Mode (MTK).
  • Scroll Down & click on CDS Information
  • Select Radio Information.
  • Two options will be there, ”Select Phone 2
  • You will get an option like  AT+
  • Now, enter AT+ <15 digit="" imei="" new="">  (for ex- AT+ 123456789012345 )
  • Select SEND AT COMMAND
  • Restart your Device and you will get your new IMEI for your android device.
  • That’s it.

Requirements To Change IMEI Number of Android Phone [ROOTED DEVICE]

  • Rooted Android Device
  • Xposed  must be installed on your device.
  • IMEI Changer app – Download IMEI Changer  from Google Play Store.
  • Internet Connection (recommended).
Change IMEI Number of Android Phone
  • First, 
      
     
    Dial *#06# on your phone to get your real IMEI number.
  • Now, write your IMEI number on a paper or somewhere for future use.
  • Now, go to Xposed> Modules
  • Make Tick on IMEI Changer Apk as Module.
  • Restart your Device.
  • After Restart, you will get your original IMEI number & Current IMEI number.
  • Now, enter new IMEI Number in NEW IMEI NUMBER box.
  • Now, tap on Apply.
  • Restart your android Phone again to set this new IMEI.
  • Now, check again and you will get your new IMEI original